Addons configuration
Addons are custom pages designed to give you the possibility to free your imagination and cutomise RPi-Monitor interface to match your needs.
Addons are html pages, javascript and css directly integrated into RPi-Monitor.
Addons are installed in /usr/share/rpimonitor/web/addons/ and activation is done in configuration file.
It is possible to use an addon many time into a same configuration file using different parameters if the addon support them as show hereunder with custom addon.
The next part of this chapter shows some examples of addons and highlight the possibilities of this feature.
About Addon
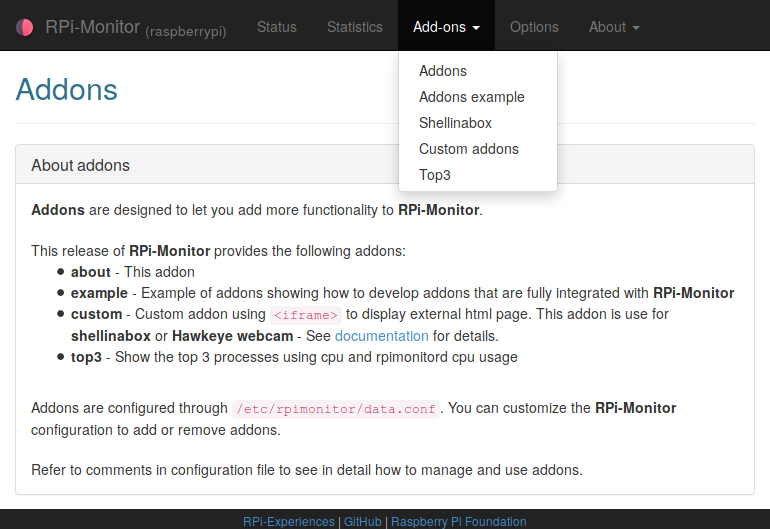
About addon is activated by default and present addons feature.
To remove this addons, simply comment out or delete the following lines from /etc/rpimonitor/data.conf.
include=/etc/rpimonitor/template/addons.conf
Top3 Addon
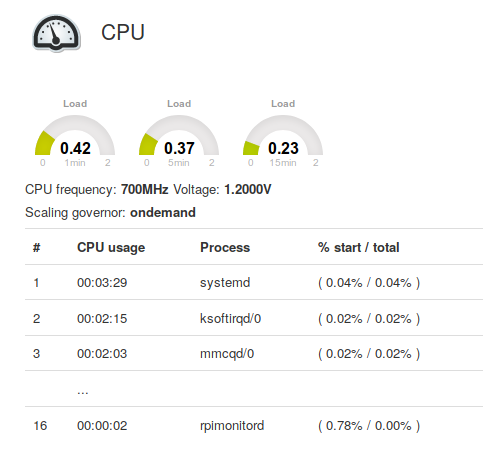
Top3 is showing how to use addons to add additionnal information into status page.
This addons is designed to periodically generate HTML content. This content can
be accessible from the addons menu and/or can be inserted into status page
using the function InsertHTML().
Top3 addons shows the 3 process consuming the most CPU time in addition to
cunsumption of rpimonitord process.
To activate this addon, add the following lines to your configuration file
web.addons.1.title=Top3
web.addons.1.addons=top3
Copy /usr/share/rpimonitor/web/addons/top3/top3.cron to /etc/cron.d/top3 to activate periodical check.
To add top3 information into status page, add the following line to configuration file.
web.status.1.content.1.line.1=InsertHTML("/addons/top3/top3.html")
Custom Addon
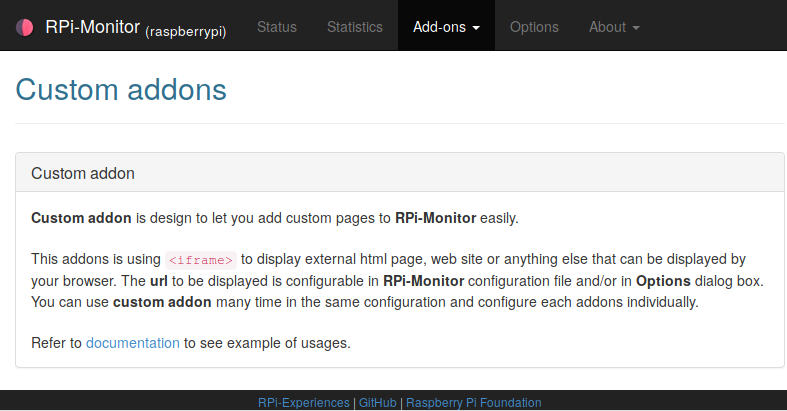
If you are not confortable with html, javascript and css, the addon custom may help you to customise RPi-Monitor to your wishes. This addons implement an iframe that can display any other web pages.
Custom addon can be configured with the following parameters:
- web.addons.<id>.title=<title>
<title>represent the title displayed in addon menu or addon title This parameter will be evaluated by the javascript command with the functioneval()theirfore parameter should be valid javacript.- web.addons.<id>.addons=custom
customis the addon activated- web.addons.<id>.showtitle=<title visibility>
<title visibility>define if title should be displayed or not- web.addons.<id>.url=<url>
urlis defining the page to be displayed into the iframe. It can be a file reachable from RPi-Monitor internal server or a site available on the Internet.- web.addons.<id>.allowupdate=<allow update>
<allow update>define isurlcan be updated in option
Shellinabox
Shellinabox allow you to access to the shell of your Raspberry Pi through a web interface.
Installing shellinabox can be done with the following command:
apt-get install shellinabox
By default shellinabox listening on http://raspberrypi.local:4200/.
Shellinabox can be integrated to RPi-Monitor with custom addon as follow:
web.addons.1.title=ShelleInABox
web.addons.1.addons=custom
web.addons.1.showtitle=false
web.addons.1.url=https://raspberrypi.local:4200/
web.addons.1.allowupdate=false
Webcam
If you want to see the image of your webcam in your browser, you can use
hawkeye.
Once hawkeye is installed, it is very easy to add it into RPi-Monitor interface
using the custom addon. The configuration will then be the following:
web.addons.1.title=Webcam - Hawkeye
web.addons.1.addons=custom
web.addons.1.url=http://raspberrypi.local:8000/
web.addons.1.allowupdate=false
url parameter point to hawkeye web interface.
Danger
If you are doing such a configuration, keep in mind about the security of your images. You should use the capacity of hawkeye to restrict the access to the image using a login and a password.
See also
You can also have a look to Authentication and secure access to RPi-Monitor.
Example Addon
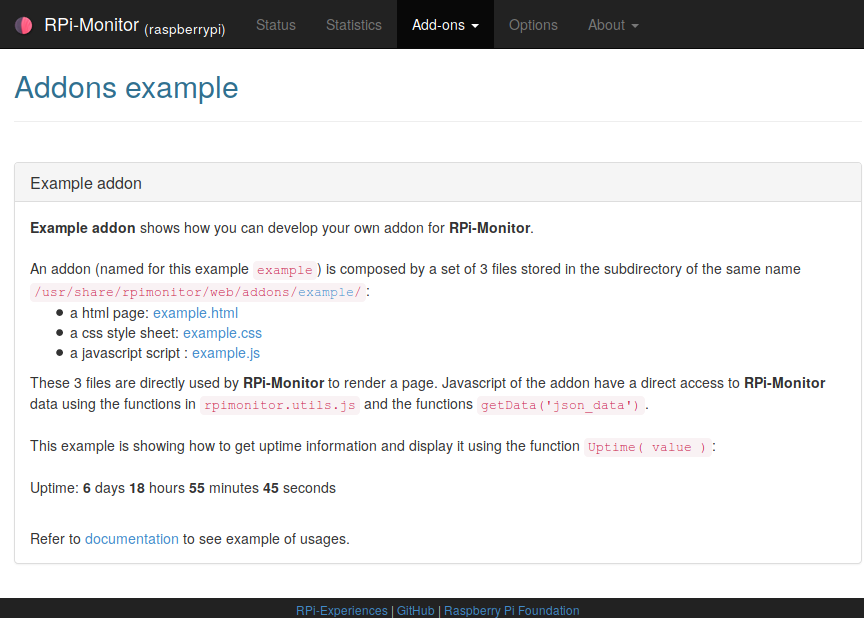
If you want to develop your own addon, you can refer to the example addons to see how to implement such a feature.
Example addon is providing a html page, a javacript and a css showing
how an addon page can interact with RPi-Monitor.
Example addon can activate by adding the following lines into the configuration file:
web.addons.1.title=Addon example
web.addons.1.addons=example
web.addons.1.showtitle=true
web.addons.1.parameter=parameter_example


